Running multi-container Applications with Docker Compose
Docker Compose is an extension of Docker which allows you to run multiple containers synchronously and in communication with one another.
Compose allows you to define and run a multi-container service using a Dockerfile and a docker-compose.yml.
Note
Docker for Mac and Docker Toolbox already include Compose along with
other Docker apps, so Mac users do not need to install Compose
separately. Docker for Windows and Docker Toolbox already include
Compose along with other Docker apps, so most Windows users do not need
to install Compose separately.

For Linux users

``` bash
sudo curl -L https://github.com/docker/compose/releases/download/1.25.4/docker-compose-`uname -s`-`uname -m` -o /usr/local/bin/docker-compose

sudo chmod +x /usr/local/bin/docker-compose
```
Main advantages of Docker compose include:
- Your applications can be defined in a YAML file where all the same
options required in
docker runare now defined (reproducibility). - It allows you to manage your application(s) as a single entity rather than dealing with starting individual containers (simplicity).
Note
For the sake of this example, either create your own `Dockerfile` or use the same Jupyter SciPy Notebook as in the [Advanced Section](advanced.md)
Creating a docker-compose.yml
Let's now create a Docker Compose .yml that calls Jupyter Notebook and RStudio
1. Create a folder shared_data in your current directory:
2. Create an empty docker-compose.yml file (e.g., touch docker-compose.yml) and paste the following lines
version: "3"

# All available services
services:

  # Computation
  jupyter:
    container_name: "jupyter_notebook"
    image: "jupyter/minimal-notebook"
    restart: "always"
    environment:
      - JUPYTER_TOKEN=mytoken
    user: root
    volumes:
      - ./data:/home/jovyan/work/
    ports:
      - 8888:8888

  rstudio:
    container_name: "rstudio"
    image: "rocker/rstudio"
    restart: "always"
    environment:
      - DISABLE_AUTH=true
    volumes:
      - ./data:/home/rstudio
    ports:
      - 8787:8787
3. Run both Jupyter Lab and RStudio using docker-compose up instead of docker run.
Note
Handling containers with Docker Compose is fairly simple

``` bash
docker-compose up
```

attaches the volumes, opens ports, and starts the container

``` bash
docker-compose down
```

destroys the container
A brief explanation of docker-compose.yml is as below:
- The web service builds from the Dockerfile in the current directory.
- Forwards the container's exposed port to port 8888 on the host.
- Mounts the project directory on the host to
/workor/rstudioinside the container (allowing you to modify code without having to rebuild the image). restart: alwaysmeans that it will restart whenever it fails.
Running, shutting down, restarting docker-compose
Run the containers with
To stop running a running docker-compose session, either press CTRL + C or use the command:
The above command removes containers, networks, volumes and images created by docker-container up.
To restart a container, use the command
restart will restart the docker-compose service without taking into account changes one may have made to the yml or environment.
Example using Docker-Compose: WebODM
Warning
For the purpose of these following examples it is not suggested to use GitHub Codespaces.
OpenDroneMap is an open source photogrammetry toolkit to process aerial imagery into maps and 3D models running on command line. WebODM (Web OpenDroneMap) is an extension of ODM running on multiple Docker Containers provinding a user friendly web interface for easy visualization.
To use WebODM:
Prerequisites
WebODM requires docker, docker-compose to function. Additionally, if you are on Windows, users will be required to have the Docker Windows Application installed as well as having the WSL2 (Windows Subsystem for Linux) operational.
- Ensure your machine is up to date:
sudo apt-get update - Clone the WebODM repository:
git clone https://github.com/OpenDroneMap/WebODM --config core.autocrlf=input --depth 1 - Move into the WebODM folder:
cd WebODM - Run WebODM:
sudo ./webodm.sh start - The necessary docker images will be downloaded (~2 minutes) and WebODM will be accessible through http://localhost:8000/
Note
You will be asked to create an account as a formality. Add any username and a password and select Create Account.
6. Download example data: clone https://github.com/OpenDroneMap/odm_data_aukerman.git. This git repository contains 77 HD images usable for WebODM. For other examples refer to ODMData.
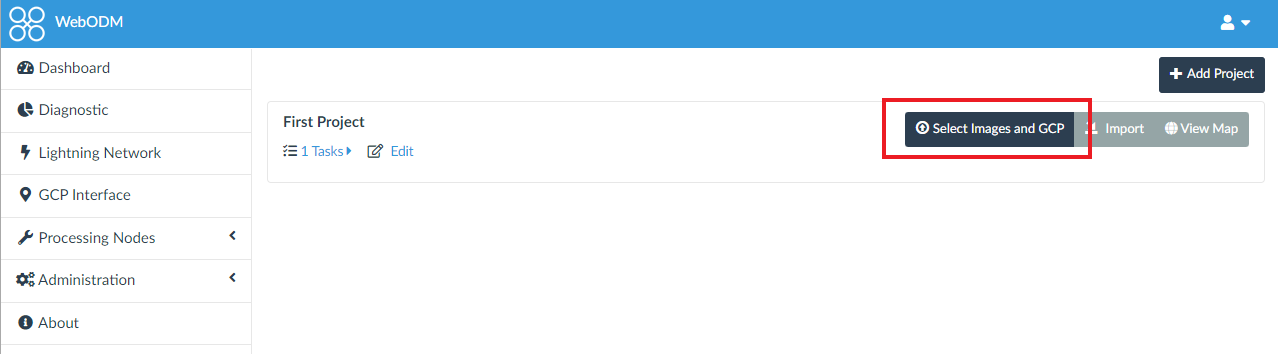
7. In the WebODM portal, click on Select Images and GCP, navigate to odm_data_aukerman/images and select between 20-50 images (16 is the absolute minimum, whilst 32 is the suggested minimum).
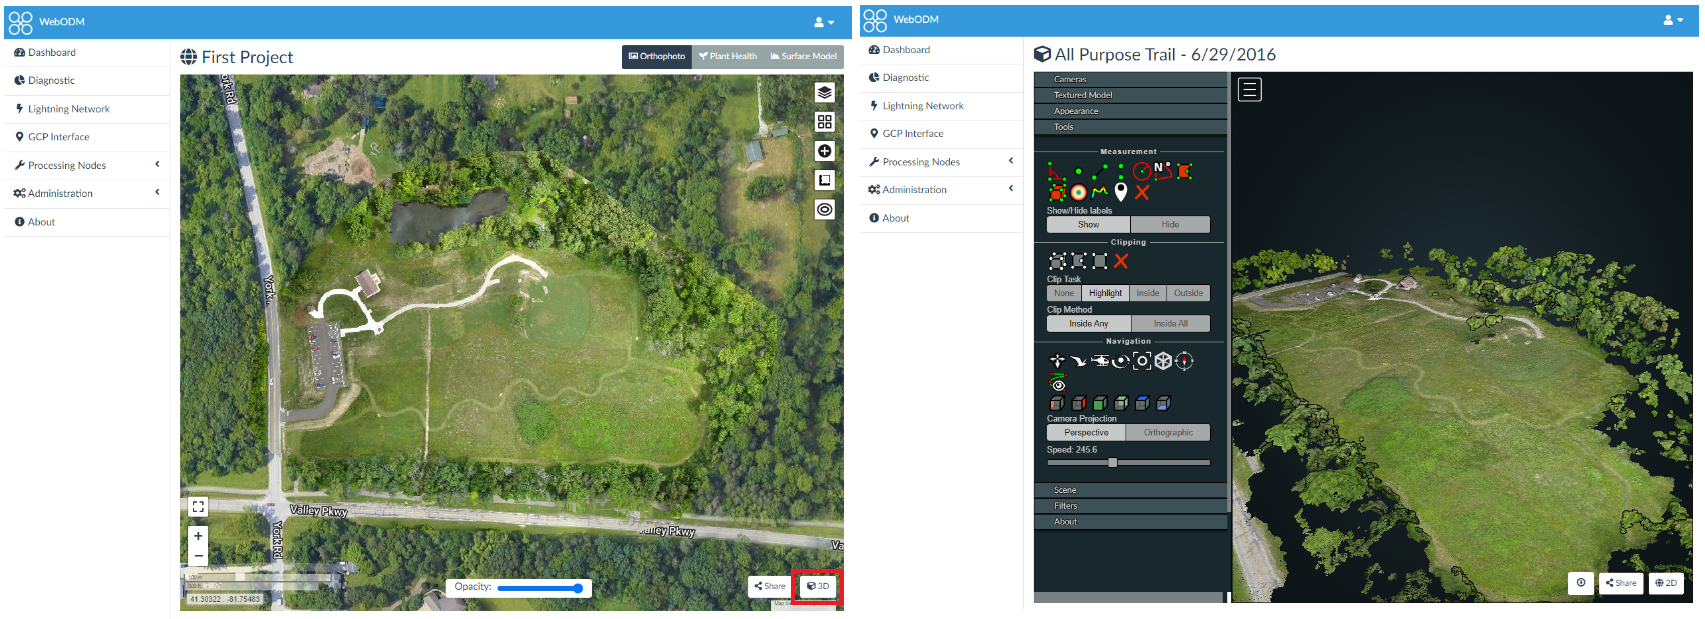
8. WebODM will process the uploaded images (~5-10 minutes); upon completion, click View Map.

9. A map will open; you can click on 3D (bottom right) to see the 3D rendered model generated.